Follow these steps to open the Virtual Drive Erase menu.
|
1. |
In the Logical view, right -click the Virtual Drive node. |
|
2. |
Click on the Virtual Drive node, select top level navigation, and click Go to. |
|
3. |
Select Virtual Drive and select Events & Response. |
The Logical View – Virtual Drive Erase menu appears.
|
4. |
Select Virtual Drive Erase. |
The Virtual Drive Erase Menu opens, as shown in the following figure.
Figure 38. Mode Selection – Virtual Drive Erase Dialog
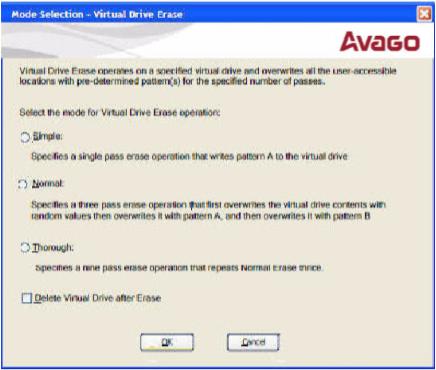
The menu has the following options.
|
|
Simple (Alt+S) |
After you select this option and click OK, and if Delete Virtual Drive after Erase is selected, the Figure 2 figure appears; otherwise, the Figure 3 figure appears.
|
|
Normal (Alt+N) |
After you select this option and click OK, and if Delete Virtual Drive after Erase is selected, the Figure 2 figure appears; otherwise, the Figure 3 figure appears.
|
|
Thorough (Alt+T) |
After you select this option and click OK, and if Delete Virtual Drive after Erase is selected, the Figure 2 figure appears; otherwise, the Figure 3 figure appears.
|
|
Delete Virtual Drive after Erase (Alt+D) |
When you select this option, the virtual drive is erased and the Figure 2 figure appears; otherwise, the Figure 3 figure appears.
|
|
OK (Alt+O) |
Click OK and if Delete Virtual Drive after Erase is checked, the Figure 2 figure appears; otherwise, the Figure 3 figure appears.
|
|
Cancel (Alt+C) |
When you select this option, the dialog closes, and the MegaRAID Storage Manager navigates back to Physical view.
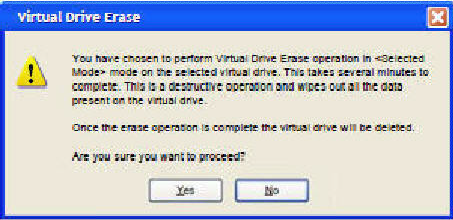
Figure 39. Warning Message for Virtual Drive Erase
|
|
Click Yes to erase the virtual drive. |
|
|
Click No to cancel the erase and close the dialogue. |
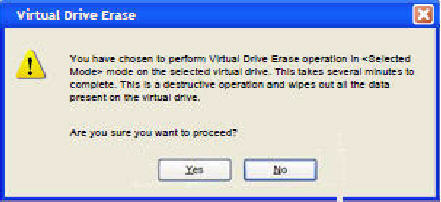
Figure 40. Warning Message for Virtual Drive Erase without Virtual Drive Delete
|
|
Click Yes to erase the virtual drive. |
|
|
Click No to cancel the erase and close the dialogue. |