ATTENTION Be sure to back up the data on the virtual drive before you replace a drive.
|
1. |
Click the Logical tab in the left panel of the MegaRAID Storage Manager window. |
|
3. |
Either select Go To > Physical Drive > Replace Physical Drive on the menu bar, or right-click the virtual drive icon to access the Modify Drive Group wizard. |
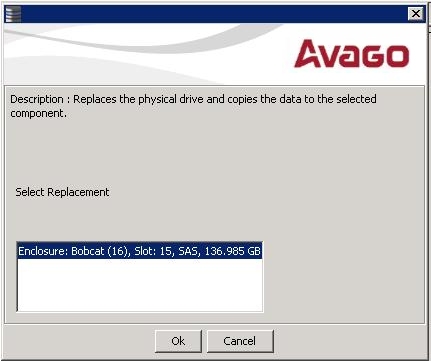
The dialog with the replacement drive appears, as shown in the following figure.
Figure 71. Drive Replacement Window
A confirmation message appears.
|
5. |
Click Yes. |
This step replaces a drive and copies the data to the selected component.
